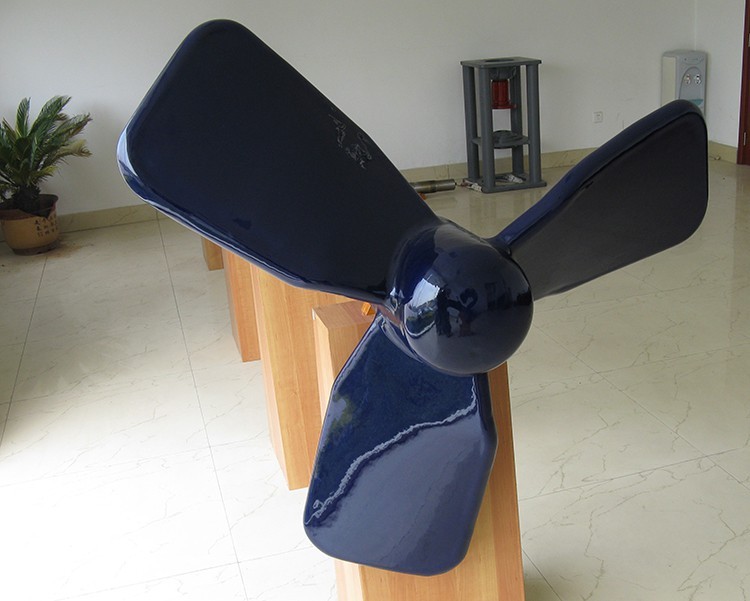
The replacement of the sealing device of the glass lined agitator is a relatively complex but important maintenance process. The following are the detailed steps for replacing the sealing device of the glass lined agitator:
1. Preliminary preparation
Cut off power: Ensure that the glass lined agitatorhas completely stopped running and cut off the power to prevent accidental start-up.
Preparation tools: Prepare the necessary tools such as wrenches, screwdrivers, scrapers, oilcloths, cleaning agents, etc.
Check the environment: Ensure that the work area is clean and tidy, without any debris interfering with the replacement process.
2. Dismantle the old sealing device
Dismantling the casing: Carefully disassemble the casing of the mixer to expose the internal sealing device.
Find the old sealing device: Based on the structure of the mixer, locate the position of the old sealing device.
Dismantling fixed screws: Use a wrench to remove the screws that secure the old sealing device, and gently remove the old sealing device.
Check the shaft and body: After removing the old sealing device, inspect the shaft and body of the glass lined agitatorfor dust or dirt, and clean them thoroughly. At the same time, check whether the shaft has obvious wear or rust, and if necessary, perform corresponding maintenance or replacement.

3. Install a new sealing device
Prepare a new sealing device: Ensure that the new sealing device matches the model and specifications of the glass lined agitator, and check its quality for completeness.
Insert new sealing device: Insert the new sealing device into the sealing groove of the mixer, ensuring the correct direction.
Fix the new sealing device: Use a wrench to secure the screws of the new sealing device, ensuring a tight seal without leakage.
Check installation effect:
